Suspension work

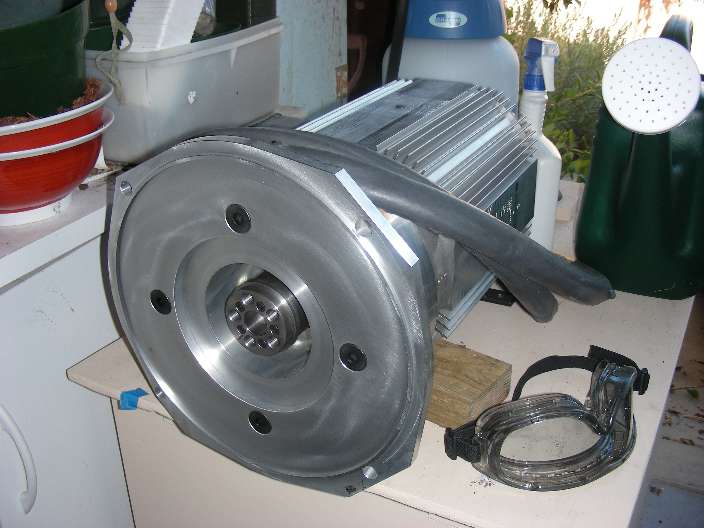
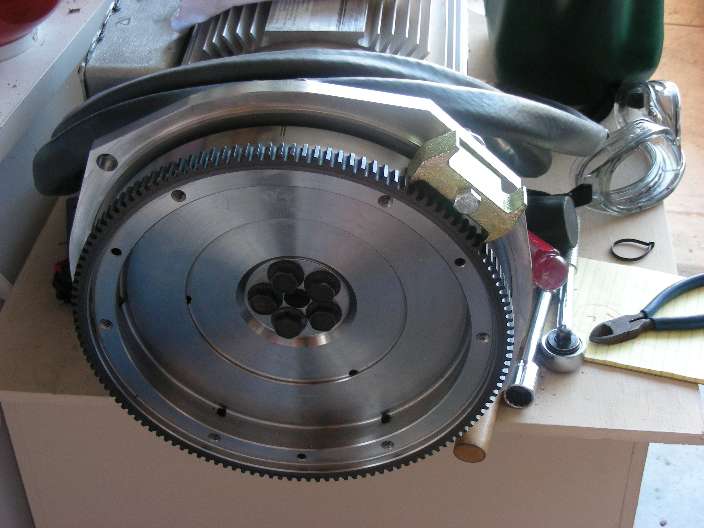
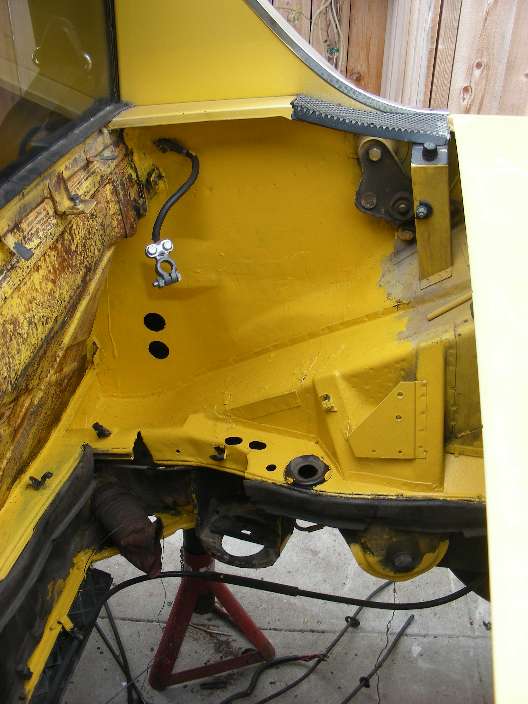
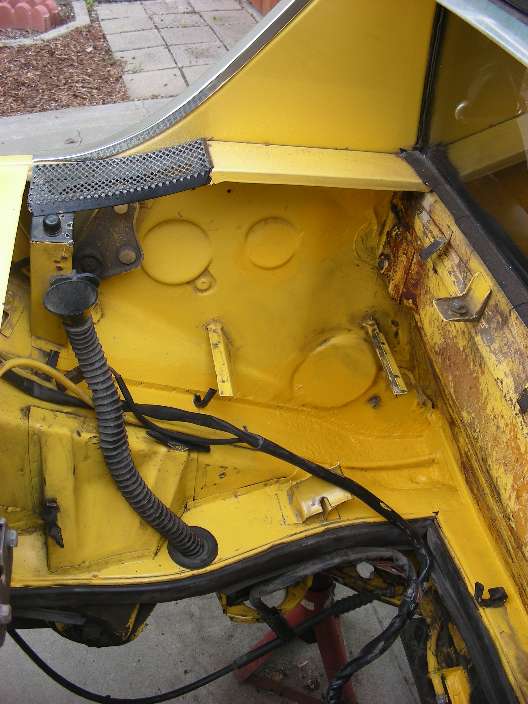
Sean came over and did 3 hours of hard work under the car while I “helped” by handing him tools and making bad jokes (as if I make any other kind).  He replaced the springs and torsion bars, but kept the shocks (as the shocks are very good autocross shocks).

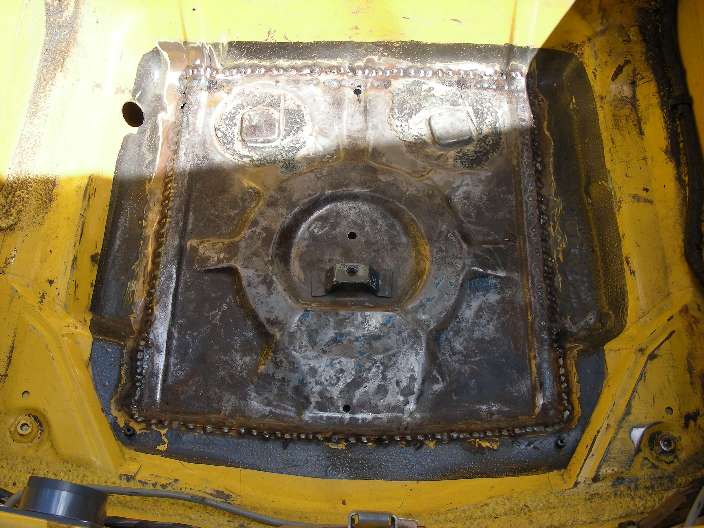
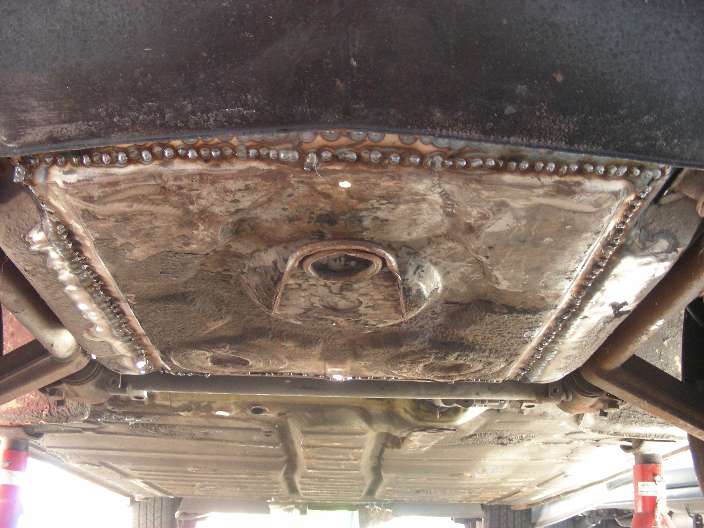
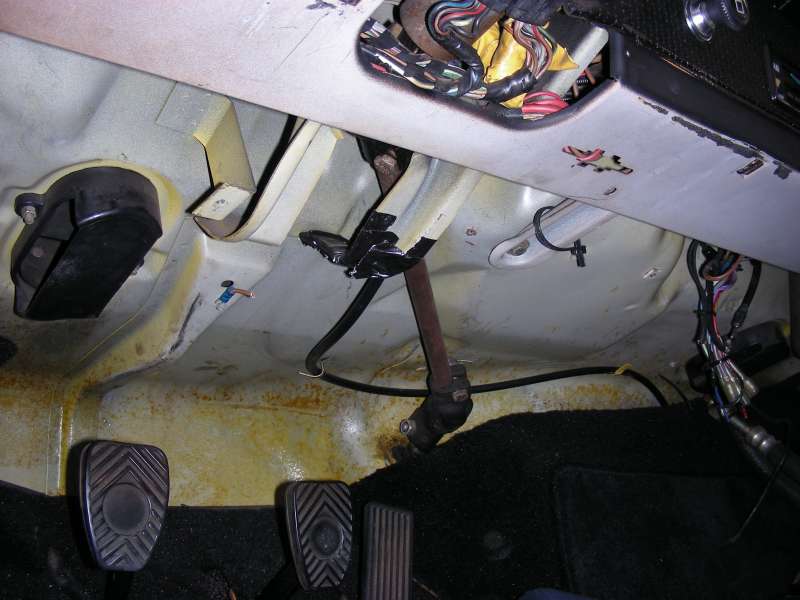
It was a good thing he was looking under the transmission, as the speedo and clutch cables are both “toast”. He’ll be getting me some new ones later this week.

Safety tip:  ALWAYS have an expert replace your springs, those things can kill you if you are not careful.

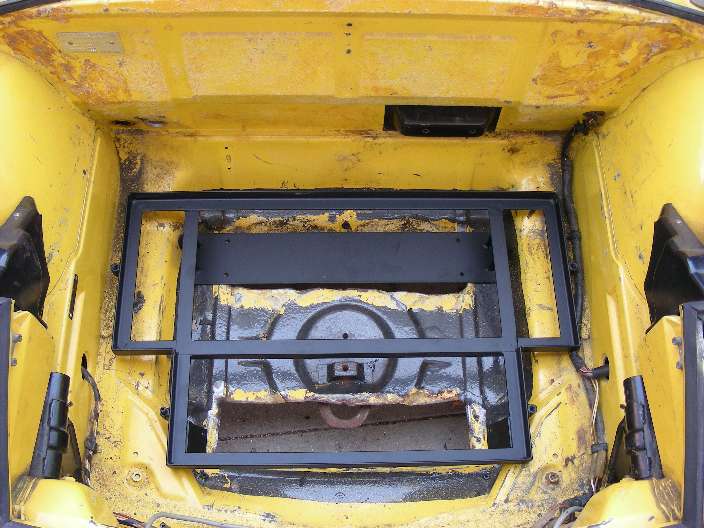
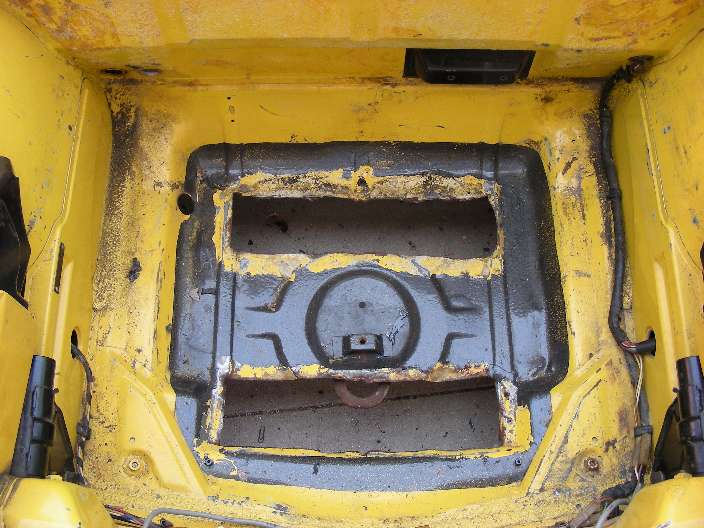
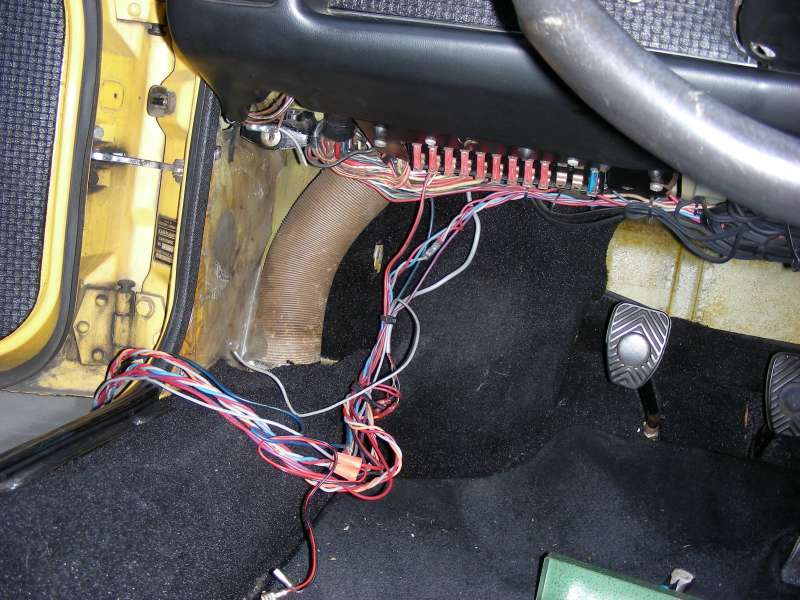
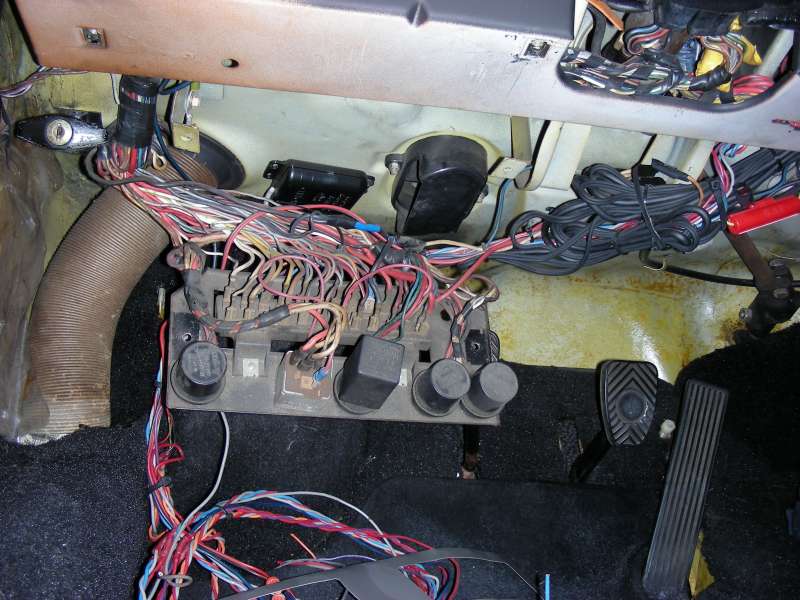
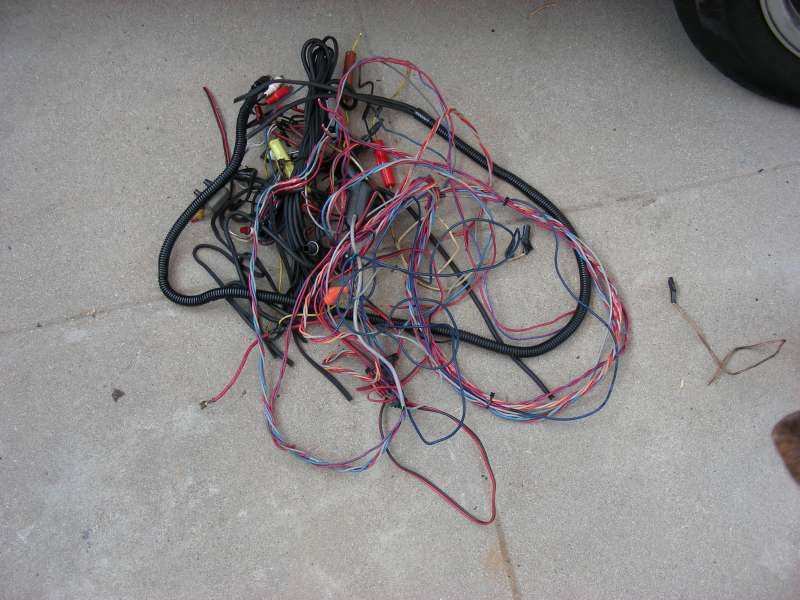
So while I am waiting for the new speedo and clutch cable, I will continue working on the wiring in the front compartment.  Lots of fiddly wires and not-so-great documentation.  *shrug*

Cables hooked up to controller

After dealing with another long trip (Macau, PRC) and the flu (caught before the trip, and made worse by the travel), I’ve finally done a bit more work.  I’ve got the power cables hooked up to the controller.  For some reason, the power cables from the motor are REALLY long (another cleanup project later).

Power cables going to controller

I’m a bit worried about the cables going through the floor of the trunk – those grommets are not very strong, and it is possible for the metal to cut through the rubber and short out the cables.  Yet Another Cleanup Project.

Power cables through trunk floor

Rear battery rack is installed

Some minor pounding created enough clearance for the rear rack to snugly fit into the engine compartment. Following another 914 conversion, I cut out the rubber inside the passenger compartment and drilled out the holes as I went.  MUCH easier than trying to get all the holes done right the first time.   I also got a lot more POR-15 for the exposed metal (during the various pounding episodes).  This is starting to look like a real electric car!

Rear support plates inside the passenger compartment
Rear battery rack attached to passenger compartment

Wiring is up next.

Mid and Rear Battery Rack

Oh my, I feel like a pale John Henry.  Making space for the middle battery rack required a LOT of pounding of metal.  Sean wanted to cut the metal, and then weld it, but I was worried about the heat on the steering column.  So for the past two weeks, I’ve taken to going out to the car, pounding on the metal for 1/2 hour and then retreating to the house.  I *think* I’ve won today, though. I do have some concern about the height of the box, but that’s for later worries.

Where the middle battery rack will go
Middle battery rack set in place

Electro Auto was extremely prompt in sending the missing rear battery rack support posts.  I was VERY happy with that level of service.  However, not all is fine with the rear rack.  It doesn’t fit (of course).  I need to pound some metal in the engine compartment as well, but I’m worried about structural strength.  I’ll know more after talking to Sean.

Rear battery rack support post

The black pen marking on the yellow metal above the post is where the rear rack is being held up.

Rack installation

In order to keep things moving at the usual snail’s pace, I picked up a flu on my last business trip. This kept me from visiting relatives in Santa Clara, and from doing anything on the car. However, once the flu left, I decided to install the remaining racks (rear and middle). As always, a few small problems were discovered: no supports for the rear battery rack, and the middle rack angle brackets are too short. I guess I gotta do some metal work now.

Rear battery rack and new relay board

The rear rack is not mounted yet, just sitting in the compartment – the fit was too tight to remove it (oops). The space below that hose is where the support mount is supposed to go. Also, I got tired of the relays being attached to the metal, and after reading some posts about possible arcing across that fuse, I put this ABS plastic board inbetween. Makes for easier mounting, too.

Middle battery rack - with metal that is too short

This is just frustrating, but nothing serious. I can cut new angle bars, paint them with POR-15, and then install. I still have to pound out the body so the plastic battery box can fit into that small space, though (later).

[UPDATE] Electro Auto shipped the rear posts today, and will be shipping the wiring diagram later on.  Looks like EA is back in business (yay!)

Front Battery Rack Installed

Wow, now that the trunk is all nicely sprayed and looking (mostly) well maintained, I installed the front battery rack.  This was actually a very simple thing to do – 8 holes, two “bar-bolts”, 4 bolts, 4 washers and 8 nuts.  The “bar-bolts” are actually two bolts welded to a bar – so the name actually makes sense.

Front Battery Rack Installed

Long time no post

Well, nothing like 3 funerals and a standards meeting to throw one off their stride. (Sounds like a bad british sitcom, doesn’t it?)

However, I have been busy on the car for the last few days.  For example, I have attached the flywheel to the motor – this involves attaching a hub to the motor and then the flywheel to the hub – all within a tight tolerance.

Motor with hub attached

Motor with flywheel attached

And at the same time, I’ve been working with Sean to get the front trunk repaired.  Sean found a donor car for some metal, and cut that donor piece out and then welded that piece into the trunk.  Now I get to grind the metal, seal the seams, smooth everything out and then paint.

Front trunk top weld

Front trunk bottom weld

Terminal blocks installed

Wow, I bet you thought I had given up. Well, no, work related travel (Prague, compleate with excellent beer), house stuff (replacing the pump in the pond, and mortaring some rocks), and family (funerals are never fun, especially when you have the ‘honor’ of doing the Eulogy).

In any case, I got the terminal blocks installed and some of the wiring hooked up. Naturally the kit didn’t have the right terminal blocks, so I got some other blocks. And the other blocks use the closed connectors (unlike the spade connectors that the kit uses). *sigh* So I am using different terminal blocks and connectors. It’s such fun. 🙂

Terminal Block

A/C? What A/C?

Well, dear reader, NEVER say anything is done until the project is over.  Really.

I was getting ready to put in the front battery rack.  This is done by simply placing the rack into the front trunk, marking where you want to drill holes, drilling said holes, and then mounting the rack.  Right.

Sizing in the front Battery Rack

One of the previous owners had put in Air Conditioning (A/C to us  Americans), and another previous owner had removed the A/C.

Something you might not know is that A/C requires cooling.  Cooling requires air flow.  The A/C installation had required this air flow, so someone had cut some rectangular holes into the front trunk (where the A/C radiator had gone).  Then the other owner had simply removed the radiator and hoses (mostly) and fiberglassed over the holes.

The resulting holes look like this:

Vents of the Former A/C

So.  What this means is that I need some metal put in, and welded solid.  Or at least welded into place and then sealed VERY well.  This has put a damper on my previous enthusiasm, you can bet on that.

Oh, and Electro Auto sent the wrong parts for the terminals, but that is another blog.

Controller and Potbox mounted

Wow, busy few days recently. After *MUCH* delay (house guest, selling airplane, travel, jetlag) I have finally gotten around to doing more work on the poor, neglected 914.

First of all, most of the rustoration is done (many thanks to the Houseguest for helping paint and cut metal). The engine compartment was the worst offender. I was able to find a local paint store that was close to the original color, and will do for the interior engine areas (but not for the exterior).

More no-rust area in engine compartment

Engine compartment with no rust

Note that I did not get rid of that stupid glue on the firewall that used to hold the insulation. The insulation was terrible – it held moisture up against the firewall, a great way to invite rust. The glue proved too difficult to remove at this time.

Controller mounted

And there is the controller mounted in its final position. Note that the grounding strap is not yet attached – this was done later (I had troubles getting the mounting hardware to work).

Potbox mounted

The potbox was an interesting part. Mainly because the spring was supposed to be attached to the upper-right 1/8 inch hole. Well, as you can see, there is a lower-left hand and a lower-right hand hole, but no upper. Thank goodness for the internets and other 914 conversion nuts. 🙂

More work to come, now that I’m motivated and mostly through with rustoration. 🙂

Fusebox Install

I got the new fuse panel in good time, and after dealing with the house and dog distractions, spent a lovely sunday installing the new panel. Naturally, a lot of the time was spent at the hardware store getting tools that I didn’t have (or lost) (such as 27mm socket for the steering wheel, or metric hex wrenches).

The stereo and security system had created a nightmare of wiring under the dash…removing that stuff was a total joy. Good thing I had a good manual with an accurate wiring diagram.

fuse_1.jpg
As you can see, the old fuse panel was a mess.

old_panel
Look at all the old wiring I got to toss out…

old_dead_wiring

This looks much better now, doesn’t it? 🙂

clean_under_dash

Unfortunately, the wiring harness is just too thick to allow the new panel to sit tight against the old posts, so I need to add some height to the posts. That’ll be an easy adjustment…just another trip to the local hardware store for longer screws and use some existing 1/2 plastic pipe for the standoffs. To be continued!