Battery Pack Disconnect and Trunk Shocks

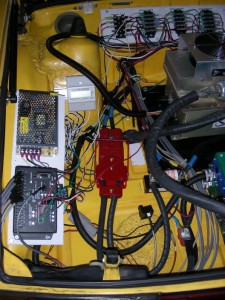
Long weekends were made for working on cars, especially when turning them into real electric cars!   This weekend was no exception.  I finished up all the battery communication cables and hooked them up to the BMS.  I also added in the battery disconnect to the rear trunk (with some necessary re-arrangement of the cables).  Next up is adding in the control wires between BMS, Motor Controller and Charger.

Battery Disconnect and BMS in place

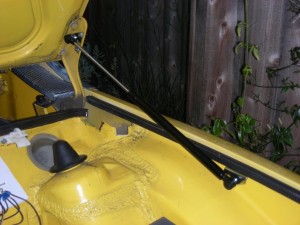
I also took the opportunity of adding in the rear trunk shocks and replaced the rear trunk lid – really nice to have the lid back in place.  Still a bit of cleanup near the shocks, but really nice items from camp914.
Rear Trunk Shock

Dash Progress and BMS Battery Connectors

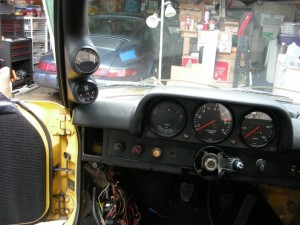
The new guages are installed – one is for the pack voltage, the other is the pack current.  Both are left and above the dash.  Speedo is also reinstalled, so the passenger compartment is (mostly) done.

Pack Voltage and Current meters

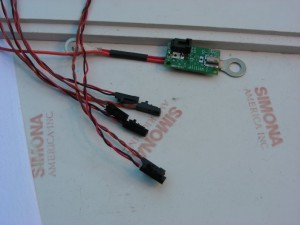
Working on the BMS battery connectors now.  A lot of fiddly little parts that require a magnifying glass (for my somewhat older eyes) and a good soldering iron.  Elithion did a very good job with their battery connectors – they actually show the color of wire to hook up where.  On the end of each battery group there is a connector that will have two wires attached – either black/red or green/white.  If you look carefully at the two wire connector on their part, it says B R / G W (or something like that).  Nice job.  🙂

Elithion Battery Connector and Communication Connectors

I still have the rear battery pack to work on, and then it is time to fuss once again in the rear trunk – I now have a quick disconnect for the battery pack that I need to fit in.