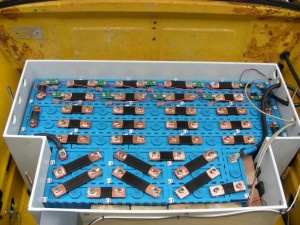
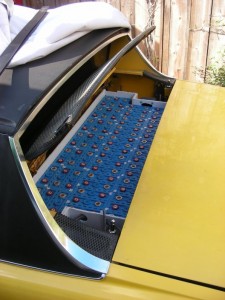
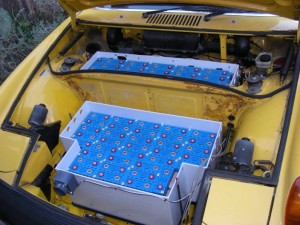
It’s ALIVE!!!

Well, ok, I just took it for a drive around the block on the weekend.  The regen action on the accelerator was kinda odd, so I’ll change that.  Also the acceleration was a bit weak, but we’ll see how that changes with the updates.  No clue about power usage, nor current usage, but again, that will change.

Planned updates:  regen enabled during braking only, update the lights in the dash to show READY and FAULT status of the controller (and to show the status in the rear trunk too), add serial cables to the passenger area (so I can run a computer while driving).
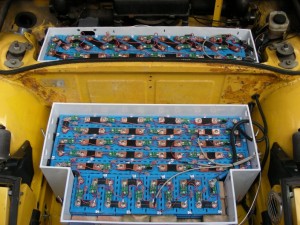
Tested BMS and Motor Controller

Ok, I tested the safeties on the BMS and the motor controller – all seems to be ok.  I do have some cutouts on the BMS during charging, but I suspect that is because the shielding on the cables are not all they are supposed to be.  I don’t have cutouts on the cable supplied with the BMS, but I do on the stuff I bought from Fry’s (go figure, cheap stuff from Fry’s???  gosh, the mind boggles 😉 ).  For now, I will suffer with occasional communications errors, but I will have to replace the cables sometime (Thanks Davide!).

So tonight, the Moment of Truth.  Will Sparky move?  Stand by.  🙂

Finished connecting BMS sensors

Wow, what a lot of work.  I have 108 batteries (the 109th doesn’t fit due to slight miscalculation…shrug), which means I have 216 bolts to fit in, 108 sensors to attach, etc.  Next step is to test out the BMS to make sure it can handle the job properly.  Fortunately, Elithion does a stellar job on their website, so I know what to do next.

Here is the front battery packs all wired up.

Front Pack Wired Up

And here is the rear battery pack all wired up (my figures hurt now).

Rear Pack Wired Up

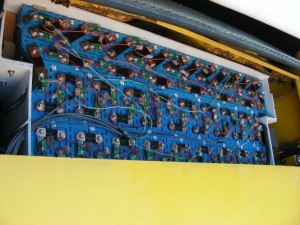
Starting BMS connections

In order for the Battery Monitoring System (BMS) to monitor all the batteries, there has to be some sort of device that attaches between each post on each battery.  For the Elithion BMS, there are banks of these monitors and they all report to the BMS itself.  It’s a bit complicated.  Fortunately, the Elithion website has some very good hints on how to go about this.  In the picture below, I have one bank connected up, with two more to go in that bay.

BMS Start

Helping, er, paws?

Someone that dearly loves to “help” with the conversion is our dog Zoe.  She was rescued from the pound 3 years ago, and has been a delightful addition to our household (with notable execptions dealing with destroyed shoes and semi-random barking).

Woof

Batteries put into boxes

So for the past few days, I’ve been making a super effort to clean up the battery boxes, and surrounding area.  This means putting the trunk lids back on, vacuuming up all the odd pieces of metal, and taping off all the exposed metal that could be hazardous in the battery boxes.

Then I went and lifted all the batteries into the boxes and put shims in around them to stabilize the batteries.  Well, shims, pieces of wood, spare plastic tubing, whatever works and is generally non-conductive.

Here’s the rear trunk:

Rear Batteries Installed

And here’s the front trunk:

Front Batteries

Next step is to start wiring all the batteries (109 of ’em) together.